

I've been spending a lot of time thinking of decorations for some upcoming parties I plan on throwing this year (crazy party brain) and where other than Etsy would I source some beautiful items. Now, I've always been a fan of the big round balloons, you know the type that everyone has in their engagement photos and wedding shoots, but I never actually wanted them for my own wedding…. I regret that now - I have one in my apartment right now and it's so much fun! I know, I know, I sound a bit insane saying that the balloon is fun, trust me, it makes you feel like a little kid again, escorting your balloon around with you.
Now, team that wonderful balloon with a pretty garland and you have wow factor! So with a vision in mind, off to Etsy I trotted to purchase these pieces of amazement. Well let me tell you, I was not impressed with the price tag… I mean if your purchasing a few of these, it definitely adds up. Now I totally understand that people make and sell these as their source of income and what not, which I think is totally awesome (and trust me, they take a long time to make, so the cost is definitely in the labour), but it's something I thought I could try my hand to, so that's what I did. If you would like to find out how to make this pretty garland, whether you require for a wedding, baby shower or you simply just want to have it hanging out in your living room like an old friend (like I do), then read on!
Supplies
- Plastic tablecloths in your preferred colours (I used half of a white and half of a gold tablecloth) - I picked mine up from Spotlight for just over $2 each!
- Strong string, ribbon or rope (If the balloon is going to be filled with helium, you'll need something strong)
- Scissors
- Stapler
- Sticky tape
- 36" round balloon in your preferred colour
How to make
1. First your going to take your table cloth and open it out fully, then your going to fold it horizontally and cut the loop at the end.
2. Then take your scissors, and cut straight down the middle to the end (see the picture below).
3. You'll now have 2 separate pieces (see below), now start cutting the sections into 15cm pieces.
4. Take your 15cm pieces and fold them in half so that the top on the plastic isn't open and creates a loop (see picture below).
5. Now start cutting strips into the plastic as pictured below, leaving a 1 inch space at the top where you don't cut (leaving the loop).
6. Once you have cut all the strips, start rolling the strips into each other, until you have a little bundle like shown below - staple to secure.
7. Now do a trillion more of them - have fun!
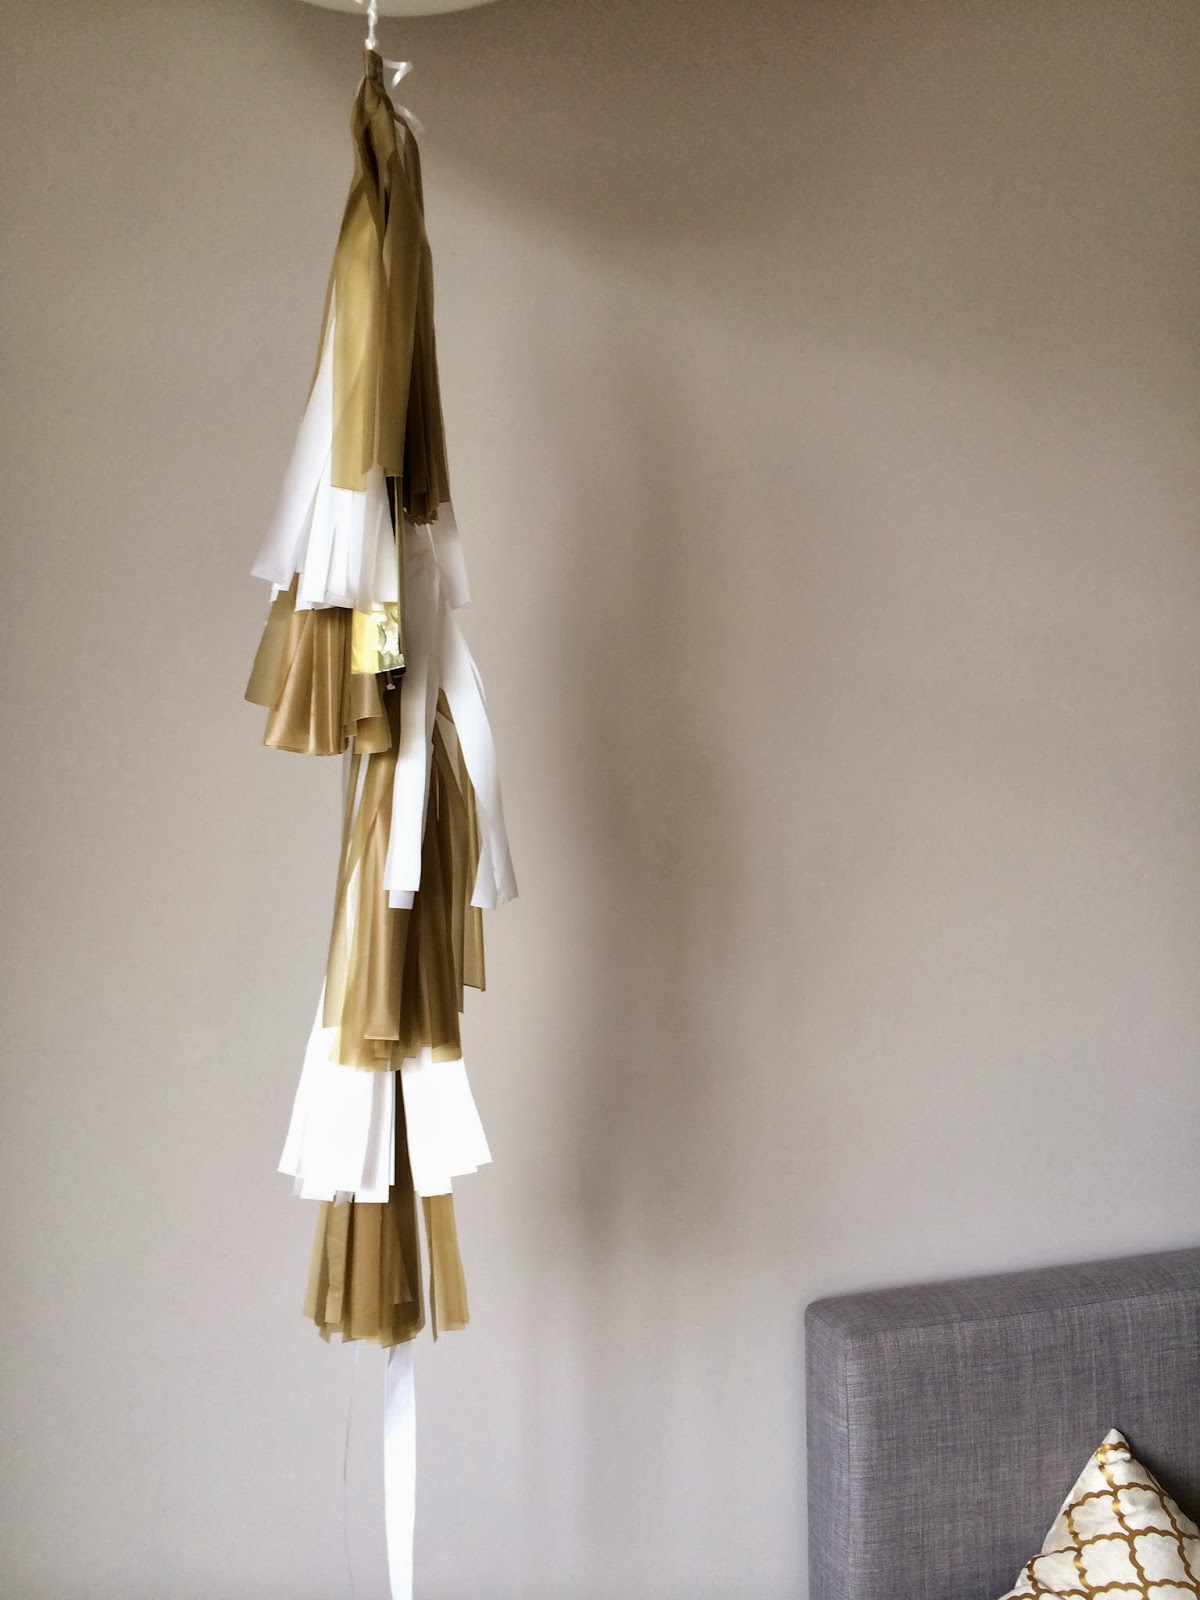
Once you have finished all of the tassels, you are now ready to construct to your balloon!
8. Tie your string to the base of the balloon (I used a white ribbon).
9. Now start attaching your tassels down the string, securing with clear sticking tape.
10. Mix up the colours as you go and space them out about 10 cms apart.
11. Be sure to fluff the tassels as you go, cover and overlap the sticking tape.
12. Now take a bunch of photos and act like a kid again!


I hope you enjoyed this little DIY and if you have any questions, please ask - my instructions are quiet vague and confusing I know - sorry about that!

No comments:
Post a Comment