Do you ever feel that making lunches for work gets so boring and repetitive after a while? I know it does for me, so a lot of the time I just buy my lunches and lets be honest, not only is buying your lunch everyday expensive, but you tend to make unhealthy food choices just because it's quicker and easier. These salad jars are a perfect lunch option, the flavours are endless and they keep fresh and tasty in the fridge for up to 8 days.
Now I'm not a salad eater myself, never have been, probably never will be - I know you think I'm crazy, I think I am too. I've just never been able to eat it, it's the texture that puts me right off. Anyway, this post isn't about my lack of salad eating ways, it's about my husbands LOVE for salad!
So I decided it would be nice for him to have some healthy and YUMMY salads for lunch! Since he isn't a big lunch eater, I know something rather small but substantial will go down great.
I was definitely inspired to whip up some yummy salads after reading Amy's post over HERE, she has some great recipes which look delicious!
So here are three recipes for salads in-a-jar, which are super easy to make and taste great too - according to my husband anyway :-P
Mexican chickpea salad with chilli/lime dressing
(Makes 4 jars)
Ingredients for salad
- Cooked brown rice
- Cooked chickpeas
- Salsa
- Red onion, chopped
- Grape tomatoes, halved
- Coriander, finely chopped
- Baby spinach leaves
Chilli/lime dressing (quantities per jar)
- 2 tablespoons olive oil
- 2 tablespoons fresh lime juice
- 1 teaspoon crushed cumin seeds (powder)
- Sprinkle of red pepper flakes
- Salt and pepper
Method
1. Combine all your ingredients for the chilli/lime dressing into your jars, screw lids on, shake to combine.
2. Start building your salad component. You want to start with the ingredients which will absorb the dressing well, so I started with the following:
- Cooked brown rice
- Salsa
- Cooked chickpeas
- Red onion
- Tomatoes
- Coriander
- Lastly, pack in the spinach leaves
Cobb Salad
(Makes 4 jars)
Ingredients for salad
- Baby spinach leaves
- Grape tomatoes, halved
- 1 avocado, sliced
- 4 to 6 hard boiled eggs, sliced
- Meat of your choice, turkey or chicken
- Cheese, grated
Balsamic dressing (quantities per jar)
- 2 tablespoons olive oil
- 1 tablespoon balsamic vinegar
- Salt and pepper
Method
1. Combine all your ingredients for the balsamic dressing into your jars, screw lids on, shake to combine.
2. Start building your salad component. I started with the following:
- Tomatoes
- Avocado
- Egg
- You can put the meat here, I didn't use meat
- Spinach
- Lastly, sprinkle some cheese on top
Caesar salad with bacon - add cooked chicken if you wish
(Makes 4 jars)
Ingredients
- Cos lettuce leaves
- 4 to 6 hard boiled eggs, sliced
- Cooked bacon pieces
- Croutons
- Parmesan, shaved
- Caesar dressing
Method
1. Place a small amount of the caesar dressing in the base of your jar, DON'T shake!
2. Start building your salad component. I started with the following:
- Eggs
- Bacon
- Croutons
- Lettuce leaves
- Lastly, sprinkle parmesan on top
Notes:
- You want to ensure that the greenery is always on the top, away from the dressing otherwise it will just turn soggy.
- For best taste, tip your jar into a bowl once your ready to eat to enjoy all the wonderful flavours!
I hope you have fun creating some salads in jars - please let me know if you have some recipes, I'd love to try them out!
Thanks so much for stopping by xx
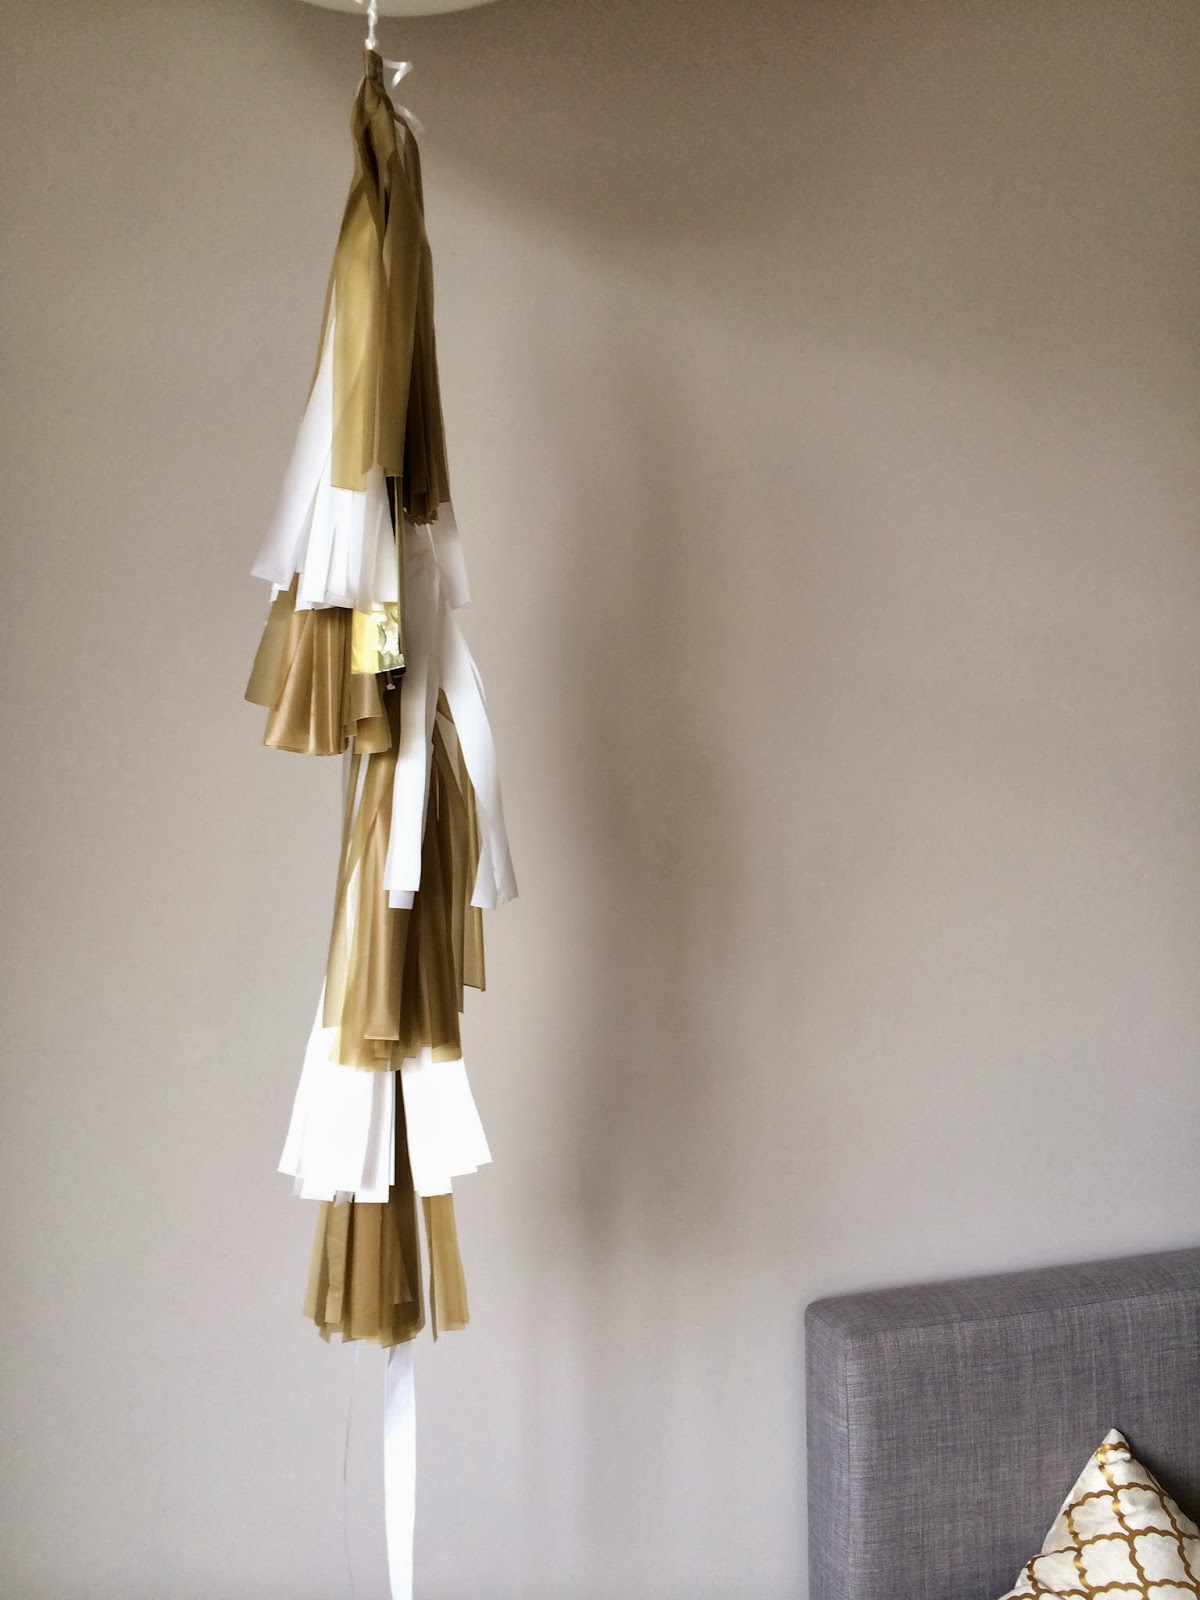
I've been spending a lot of time thinking of decorations for some upcoming parties I plan on throwing this year (crazy party brain) and where other than Etsy would I source some beautiful items. Now, I've always been a fan of the big round balloons, you know the type that everyone has in their engagement photos and wedding shoots, but I never actually wanted them for my own wedding…. I regret that now - I have one in my apartment right now and it's so much fun! I know, I know, I sound a bit insane saying that the balloon is fun, trust me, it makes you feel like a little kid again, escorting your balloon around with you.
Now, team that wonderful balloon with a pretty garland and you have wow factor! So with a vision in mind, off to Etsy I trotted to purchase these pieces of amazement. Well let me tell you, I was not impressed with the price tag… I mean if your purchasing a few of these, it definitely adds up. Now I totally understand that people make and sell these as their source of income and what not, which I think is totally awesome (and trust me, they take a long time to make, so the cost is definitely in the labour), but it's something I thought I could try my hand to, so that's what I did. If you would like to find out how to make this pretty garland, whether you require for a wedding, baby shower or you simply just want to have it hanging out in your living room like an old friend (like I do), then read on!
Supplies
- Plastic tablecloths in your preferred colours (I used half of a white and half of a gold tablecloth) - I picked mine up from Spotlight for just over $2 each!
- Strong string, ribbon or rope (If the balloon is going to be filled with helium, you'll need something strong)
- Scissors
- Stapler
- Sticky tape
- 36" round balloon in your preferred colour
How to make
1. First your going to take your table cloth and open it out fully, then your going to fold it horizontally and cut the loop at the end.
2. Then take your scissors, and cut straight down the middle to the end (see the picture below).
3. You'll now have 2 separate pieces (see below), now start cutting the sections into 15cm pieces.
4. Take your 15cm pieces and fold them in half so that the top on the plastic isn't open and creates a loop (see picture below).
5. Now start cutting strips into the plastic as pictured below, leaving a 1 inch space at the top where you don't cut (leaving the loop).
6. Once you have cut all the strips, start rolling the strips into each other, until you have a little bundle like shown below - staple to secure.
7. Now do a trillion more of them - have fun!
Once you have finished all of the tassels, you are now ready to construct to your balloon!
8. Tie your string to the base of the balloon (I used a white ribbon).
9. Now start attaching your tassels down the string, securing with clear sticking tape.
10. Mix up the colours as you go and space them out about 10 cms apart.
11. Be sure to fluff the tassels as you go, cover and overlap the sticking tape.
12. Now take a bunch of photos and act like a kid again!
I hope you enjoyed this little DIY and if you have any questions, please ask - my instructions are quiet vague and confusing I know - sorry about that!
Now this is a cupcake you just have to try! If you're a lover of fizzy, sherbet type sweets then I guarantee this will become a favourite of yours. If you aren't a fan of orange flavour, you can substitute the orange flavouring with whatever you please (but seriously who isn't a fan of orange??).
Now for the recipe!
Ingredients:
Orange Cupcakes
- 3 large eggs
- 1 1/2 cup (195 grams) all purpose flour (I used the one for baking cakes)
- 1 1/2 teaspoons baking powder
- 2/3 cup (130 grams) castor sugar
- 1/4 cup (60 mls) milk
- 1/2 cup (115 grams) unsalted butter at room temperature
- 1 large orange, squeezed
- Zest of squeezed orange
- 1 teaspoon pure vanilla extract
Fruit Tingle Frosting
- 250 grams unsalted butter
- 3 1/2 cups soft icing sugar sifted
- 5 rolls of Fruit Tingles, crushed finely
Method
Orange Cupcakes
1. Preheat oven to 180 degrees C and line 12 muffin cups with paper liners.
2. Place the butter and castor sugar in a large bowl and cream together with an electric mixer until light and fluffy.
3. Add the eggs one at a time and then add orange juice, zest and vanilla - mix until fully combined.
4. In a separate bowl, combine flour and baking powder together. Alternately add the flour mixture and milk to the butter mixture, in three additions, beginning and ending with the flour.
5. Evenly fill the cupcake liners with mixture and bake for about 15 - 18 minutes, until a toothpick inserted into a cupcake comes out clean.
6. Remove from oven and place on a wire rack to cool ready for icing.
Fruit Tingle Frosting
1. Place the butter in a large bowl and beat on high with an electric mixer until smooth and fluffy.
2. Turn the mixer on low and gradually add the icing sugar in small portions, careful not to let the icing sugar fling out of the bowl ;-P
3. Once all the icing sugar has been added and the mixture is combined, add your crushed Fruit Tingles and mix until well combined (you can crush the Fruit Tingles by placing them in a ziplock bag and banging with a rolling pin).
Once your cupcakes are cooled, you can now ice them with your delicious frosting! I use a flex piping bag with just a plain nozzle and pipe the frosting onto the cupcake in a circular motion, gently lifting as I go.
I hope you enjoy this recipe as much as I do, and have fun baking!
This past weekend was wonderful, firstly I got to see one of my beautiful friends get married, which I have been looking forward to from when we both met & bonded over our wedding planning experiences & secondly I caught up with another dear friend who recently moved from Perth and relocated to Sydney.
We started our Friday early, Jack & I had both not slept since the night before and left for the airport at 3am. The flight was as nice as it could be, but I did freeze my butt off & the crew conveniently ran out of blankets just as they got to our seats :(
Arriving in a different state, I always look around and see how different & fast moving everything is compared to slow and steady Perth. Once we arrived safely at our hotel at the Star (The Darling) without being sick (What the hell is with Sydney taxi drivers!!) we decided to grab a quick lunch down at the Darling Harbour. We ate at Eat, Love, Pizza - which was delicious & I started the afternoon with none other than a cocktail - however the service was not up to par :(
On our way back to the hotel we made a stop at Adriano Zumbo for some macarons! I wasn't a massive fan of the flavours - but still yum.
We then ventured back to the hotel (after Jack so kindly took a trillion photos of me posing & doing my thang) and did the hotely thing you do, such as check out all the nifty items, switches & take pointless photos - see below.
We decided to eat dinner at BLACK by Ezard in The Star complex, which was a big let down. From the moment we arrived at the restaurant to when we paid our bill - the service was awful! Everything, & I mean everything was such a let down :( now I hate to be a whiner, but we just couldn't believe the service and how unprofessional the waiters/ess were. The food was okay, nothing to rave about - but here's some photo's below.


We then ventured off to Cherry, a bar also in The Star complex near the casino thinking we could finish the night off good with a few cocktails/ciders. Yet again, the service was awful!! The bar was quiet empty as it was still early on in the night, so we decided to grab a cocktail and cider - after waiting about 10 minutes for our drinks to be made we made our way to a comfy looking booth. I took a sip of my nutty chaplin cocktail and hated it :( what a waste of $20! Jack drank his cider and we left to go back to our hotel room - but before we made it back to our room we stopped for some ice cream! Surely ice cream would brighten our moods??!! Unfortunately not, they got our order wrong and looked at us as if WE had committed I crime when I told them it was wrong! What the hell is wrong with Sydney hospitality service!?
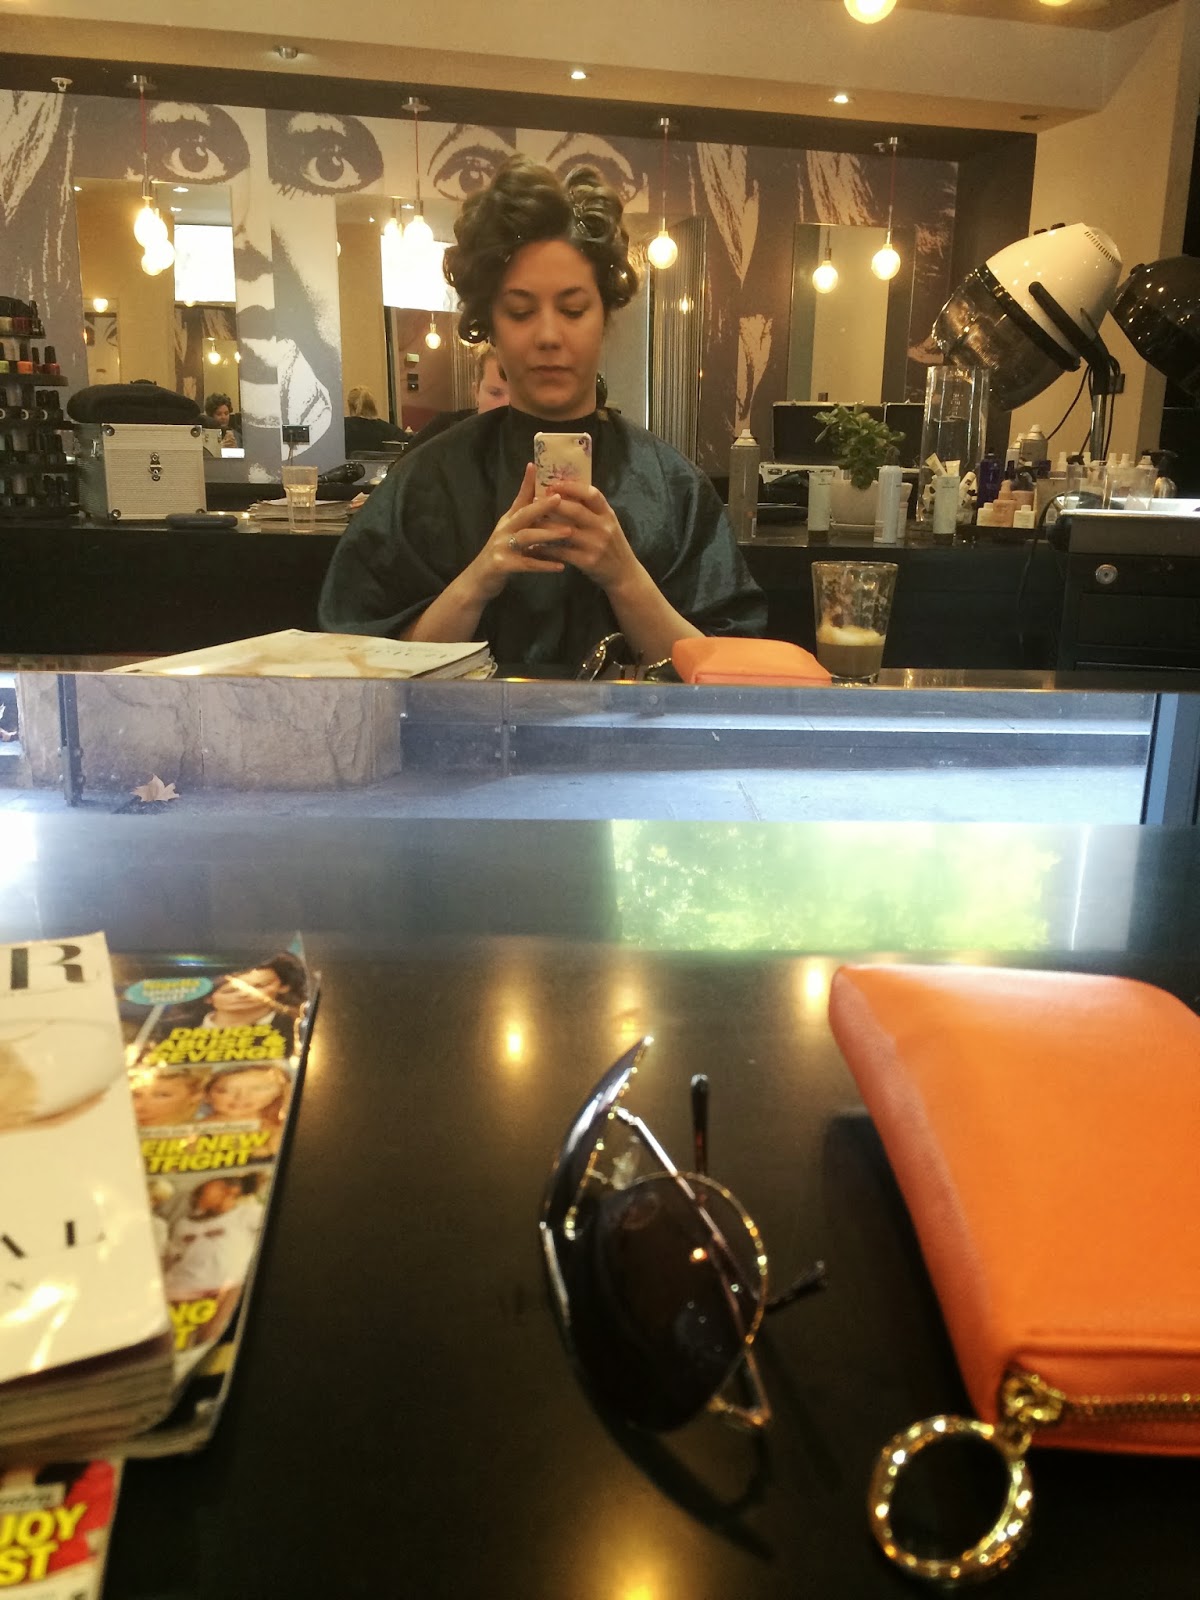
The next morning, I was super excited for Rach & Max's wedding as I trotted off to get my hair done at The Star Hair & Beauty - salon selfie below of course ;-)
We then got ready to make our way to the ceremony at St Patricks Church in Sydney - but first our taxi driver dropped us off at the wrong church and we had to quickly figure out where the right church was - luckily it was across the road!
The ceremony was absolutely beautiful and I cried as the gorgeous Rach walked down the aisle.
The reception was at The Star Room in the IMAX Theatre on the Darling Harbour - such a wonderful location & we were lucky enough to witness fireworks as the night went on!
Jack & I had an amazing time, grooving on the dance floor & drinking way too many beers (Jack)! What a fun night, and we are so blessed too be apart of such a wonderful experience.
The following morning, I dragged my aching body out of bed and trotted off to meet my gorgeous friend Heather for High Tea at the Tea Rooms in the Queen Victoria Building. Was such a lovely morning, and so happy to have been able to sneak in a much needed catch up.
Soon after, it was time to head off to the airport back home, we were both glad to be heading back to slow moving Perth for a good sleep after a very sleep deprived few days.
So that was my weekend! We definitely had a crazy time with all the awful service, but seeing my amazing friends made it all so worth it!
Is it just me that has experienced bad service in Sydney? Or is it the norm for the hospitality industry in Sydney?

Most people that know me, know that I'm a big fan of anything coral, gold & polka dots - if you can combine all those together, I'm one giddy lady!
Over the last month or so I've really been loving a more minimalist make up look… now that's not to say I leave the house without a slick of makeup on my mug, but I've really embraced a lighter eye & colourful lip.
So I thought I'd share with you a few of the items I'm currently loving.
1. My Oroton purse is my absolute love at the moment. Favourite colour, soft leather & enough space for my trusty phone & lippy - how could I go wrong? This is an absolute bargain at the moment at $137.50! http://www.oroton.com/view-all-wallets/medina-large-multi-pocket-zip-around/w1/i2889517_1001246/
2. I'm loving this little head scarf, it's such a beautiful colour & pattern which really brightens up a plain outfit. I purchased mine at Lovisa for $9.99, it's not available anymore, but this one is super gorgeous too http://www.lovisa.com.au/multicolour-paisley-print-headband.html
3. As I was saying, I really enjoy having a 'lighter' face of make up, & I'm loving this gorgeous Napoleon Perdis bronzer swept across my face. You can pick this up from any Napoleon Perdis stores for $60 http://napoleonperdis.com/aus/makeup/cheeks/bronze-patrol.html
4. Continuing on with my love of coral & a bright lippy - this Revlon Colourburst Lip Butter in Juicy Papaya 027 is a winner! There is nothing better than being able to swipe a lippy on without worry about if you have made a right mess of yourself without a mirror ;) this product is very moisturising, has great colour pigmentation and comes in a range of beautiful colours for summer. Priceline is having 30% at the moment, bringing them down to $15.36 http://www.priceline.com.au/cosmetics/lips/lipstick/colorburst-lip-butter-2.55-g
5. If you managed to pop in to Myer recently I'm sure you would of noticed the gorgeous Karen Walker Home range on display. How can you go wrong with gold polka dot home wares I purchased these mugs and the napkins to match…. I'm kicking myself now for not picking up the plates too, as I believe the line in now unfortunately out of stock :(
6. I've had the Urban Decay Naked Palette 2 for about a year and a half now & I use it pretty much everyday, that's how much I love this product. The beiges & golds are the perfect shades & have great pigmentation, it's an absolute must in anyones collection. I purchased mine from Beauty Bay, but it's sold out, so straight from the Urban Decay website for $52 http://www.urbandecay.com/urban-decay/eye-makeup/naked2/282.html
7. I picked this gorgeous Philosophy melon daiquiri 3-in-1 shower gel recently from David Jones & it is gorgeous! It's a shampoo, shower gel & bubble bath all in one which I love - I've mainly been using it as a shower girl, but I did wash my hair with it and love love loved the smell of my hair afterwards! I do think it is a bit on the expensive side at $30, but I'm sure it can be found elsewhere cheaper http://www.adorebeauty.com.au/philosophy/philosophy-melon-daquiri-shampoo-shower-gel-bubble-bath.html
What are you currently loving? I would love to hear your summer favourites :)
I hope you enjoyed this post & a big Happy New Years Day!